
There's a reason wildlife photographers wake before dawn and linger in the field long after most people have headed home. The golden hour—that magical window of time shortly after sunrise and before sunset—transforms ordinary wildlife photos into extraordinary images that seem to glow from within. This golden light doesn't just illuminate your subjects; it breathes life, warmth, and drama into every frame.
For those passionate about wild photography, understanding and mastering the golden hour is perhaps the single most important skill you can develop. The difference between harsh midday light and the soft, directional magic light of early morning or late evening can mean the difference between a snapshot and a masterpiece.

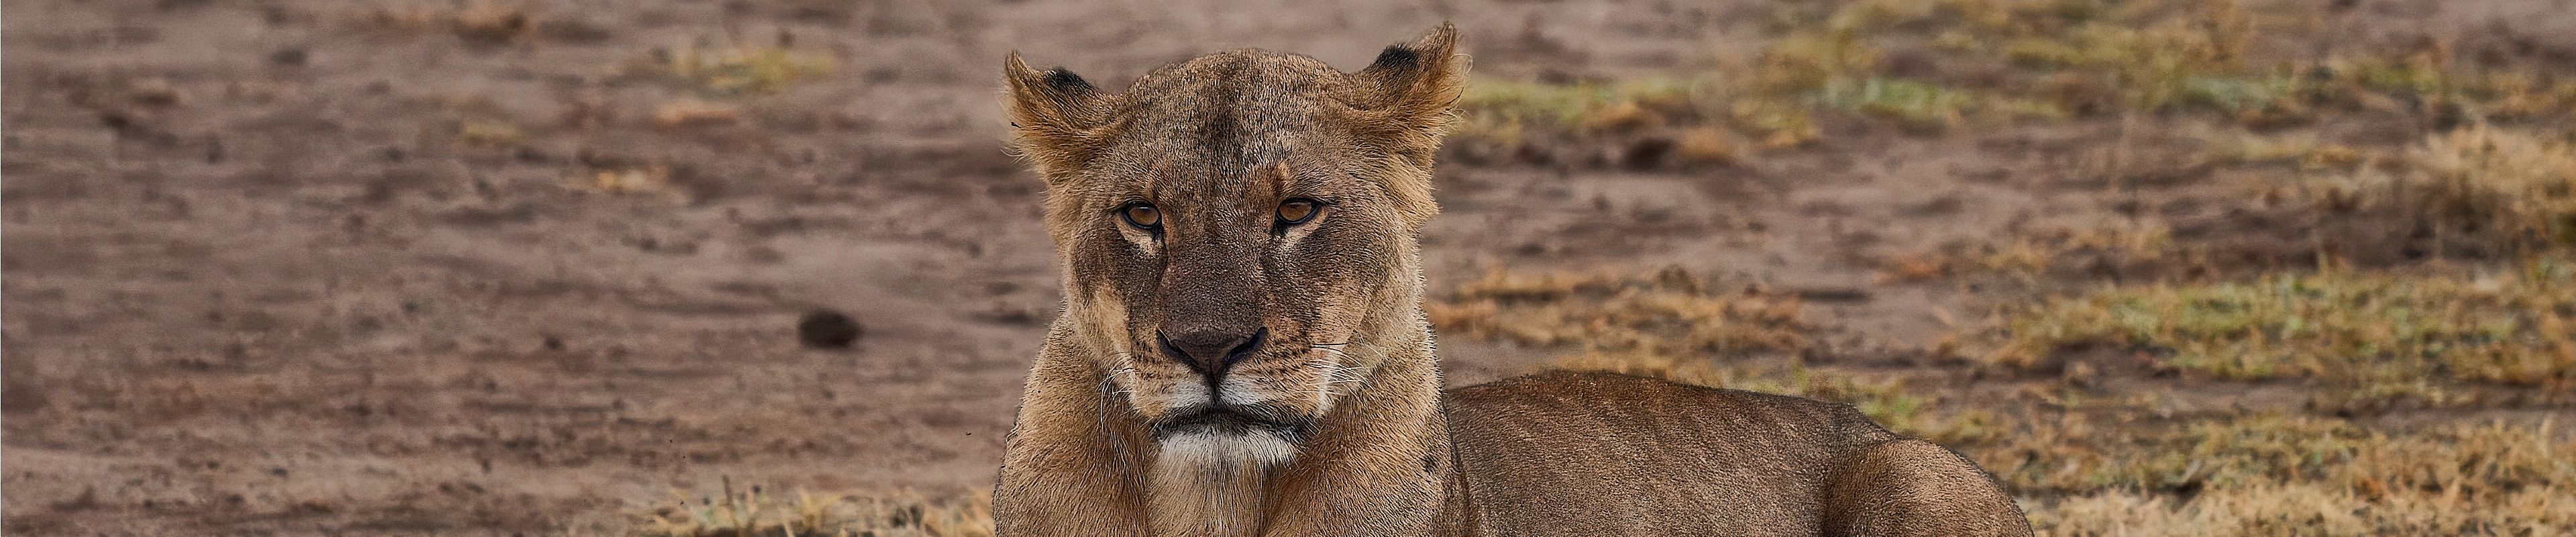
Understanding the Magic of Golden Light
Golden hour photography isn't just about aesthetics—it's about physics, biology, and timing coming together in perfect harmony. When the sun sits low on the horizon, its light travels through more of Earth's atmosphere, scattering the shorter blue wavelengths and allowing the longer red and orange wavelengths to dominate. This creates that characteristic warm, golden glow that photographers chase relentlessly.
But the magic light offers more than just beautiful color. The low angle of the sun creates long, dramatic shadows that add depth and dimension to your wildlife photography. Textures become more pronounced—the individual feathers in bird photography stand out, fur appears more detailed, and the contours of wild animals photos gain definition that simply doesn't exist during midday hours.
The quality of light during golden hour is also significantly softer than midday sun. This diffused light reduces harsh contrasts, preserves detail in both highlights and shadows, and creates a natural, flattering illumination that makes wild animal photography infinitely more manageable. Your camera's dynamic range—its ability to capture detail in both bright and dark areas—suddenly becomes sufficient for scenes that would be impossible to properly expose at noon.

Timing Is Everything in Wildlife Photos
The golden hour isn't a fixed period—it varies by season, latitude, and weather conditions. Generally, photographers define golden hour as the first hour after sunrise and the last hour before sunset, though in reality, this magical window can be shorter or longer depending on where you are in the world.
In summer months at higher latitudes, golden hours can extend for two hours or more, giving you ample time to work with your subjects. Conversely, in tropical regions near the equator, the transition from darkness to harsh daylight happens much more quickly—sometimes in as little as 20 to 30 minutes. This means you need to be in position, ready to shoot, before the light reaches its peak.
Successful golden hour photography requires planning. Use apps or websites that calculate precise sunrise and sunset times for your location. Arrive at your chosen location at least 30 to 45 minutes before the golden hour begins. This gives you time to scout compositions, set up your equipment, and allow wildlife to become accustomed to your presence.
Dawn often proves superior for wild photography for several reasons. Many animals are most active in the early morning, feeding after a night's rest. The air is typically clearer, with less dust and pollution that can muddy your golden light. Morning dew adds sparkle and interest to vegetation and can create beautiful catchlights in animal eyes. The environment is also usually quieter, with fewer people around to disturb wildlife.

Camera Settings for Golden Hour Wildlife Photography
Photographing during magic light presents unique technical challenges. The rapidly changing light conditions mean your camera settings from one moment to the next may need adjustment. Understanding how to balance your exposure triangle—aperture, shutter speed, and ISO—becomes crucial.
Start with aperture priority mode if you're still building confidence, allowing you to control depth of field while the camera adjusts shutter speed. For bird photography and capturing wild animals in motion, you'll typically want a shutter speed of at least (1/2000th–1/4000th) of a second depending on the gear, faster if your subject is moving quickly. Don't be afraid to push your ISO higher than you might during midday shooting—the beautiful quality of golden light often compensates for the slight increase in noise.

White balance deserves special attention during golden hour photography. While auto white balance can work, it often tries to neutralize the warm tones you're specifically trying to capture. Consider setting your white balance to "shade" or "cloudy" to enhance those golden tones, or shoot in RAW format to give yourself maximum flexibility in post-processing.
Exposure compensation is your friend during magic light. The bright, warm tones can trick your camera's meter into underexposing. Don't be afraid to dial in +1/3 to +2/3 stops of exposure compensation to properly expose your subject, especially if you're photographing darker animals against a bright sky.
Composition Techniques for Wild Animal Photography
The directional nature of golden light opens up compositional possibilities that simply don't exist during other times of day. Backlighting—positioning yourself so the sun is behind your subject—can create stunning rim lighting that outlines wild animals with a glowing halo. This technique works beautifully for bird photography, highlighting feather detail and creating dramatic silhouettes.
Side lighting during golden hour emphasizes texture and creates depth through shadows. This angle is particularly effective for wildlife photos where you want to showcase the three-dimensional form of your subject. The interplay of light and shadow adds visual interest and can help separate your subject from the background.

Front lighting—with the sun behind you—provides even, warm illumination across your subject's face and body. This is the safest approach for beginners and ensures proper exposure on your subject's features. The warm color temperature of golden light during these times eliminates the flat, harsh quality that front lighting produces during midday.
Don't neglect the background in your wild photography. The golden hour often paints the sky in spectacular gradients of orange, pink, and purple. Including these colorful skies can add context and scale to your images. Alternatively, use a wide aperture to blur distracting backgrounds into smooth, warm bokeh that makes your subject pop.
Species-Specific Strategies
Different animals present different opportunities and challenges during golden hour. Deer and other large mammals often emerge from cover during dawn and dusk to feed in open meadows, making them more visible and accessible during magic light. Position yourself downwind near known feeding areas, and use the longer focal lengths required for wild animal photography to maintain a respectful distance.
Bird photography during golden hour requires understanding avian behavior. Waterfowl and shorebirds are typically active at dawn, feeding in shallow water that reflects the golden light beautifully. Raptors often hunt during the first and last light of day, and positioning yourself with a clear view of their hunting grounds can yield spectacular action shots against dramatic skies.
Smaller mammals like foxes, rabbits, and squirrels also increase activity during golden hour. The softer light is particularly flattering for these subjects, bringing out the texture of fur and creating catchlights in their eyes without the harsh shadows that make midday photography of these creatures so challenging.

Overcoming Golden Hour Challenges
While golden hour offers incredible opportunities, it also presents unique challenges. The rapidly changing light means you need to work quickly and efficiently. Pre-visualize your shots and prepare your settings in advance so you're not fumbling with equipment when the perfect moment arrives.
Autofocus can struggle in the lower light levels of dawn and dusk. Consider using single-point autofocus on high-contrast areas like eyes or the edge where light meets shadow. Many modern cameras offer improved autofocus performance in low light, but knowing your equipment's limitations will save you from missed opportunities.
The short duration of optimal light means you can't afford to waste time. Scout locations during the day to identify promising spots, determine where the sun will rise or set relative to your position, and plan multiple backup locations in case wildlife doesn't cooperate at your first choice.
Weather conditions dramatically affect golden hour photography. Clouds can either enhance or diminish the golden light. A partly cloudy sky often produces the most dramatic results, with the sun breaking through gaps to create spotlighting effects and rays of light called crepuscular rays. Completely overcast conditions eliminate golden hour entirely, though they provide their own benefits for wildlife photography in soft, even light.

Post-Processing Golden Hour Wildlife Photos
Even perfectly exposed golden hour wildlife photography benefits from thoughtful post-processing. The goal isn't to create something artificial, but to bring out the inherent beauty that your camera sensor captured.
Start by adjusting your white balance if you shoot in RAW format. While you generally want to preserve those warm tones, you can fine-tune the exact color temperature to match your vision. Sometimes cooling the image slightly in post-processing can actually make the warm tones more believable and less overwhelming.
Shadows and highlights require careful attention. The dynamic range of golden light, while better than midday, can still challenge your camera. Gently lift shadows to reveal detail in darker areas without introducing excessive noise. Recover blown highlights carefully, especially in sky areas, to preserve the gradient of colors.
Enhance sharpness and clarity selectively. Use masking tools to apply sharpening only to your subject, not to soft background elements. A subtle increase in clarity can make textures like feathers and fur more prominent without creating an over-processed look.
Color grading can enhance the mood of your golden hour images. Warming the highlights and cooling the shadows slightly can add dimension, though restraint is key—the natural golden light is already beautiful and needs little enhancement.

Building Your Golden Hour Portfolio
Consistency separates casual wildlife enthusiasts from serious wild photography practitioners. Commit to regular golden hour sessions, even when conditions seem unpromising. Some of the most memorable wildlife photos happen on days when the light, weather, and animal behavior come together unexpectedly.
Document the same locations through different seasons to build a comprehensive portfolio showing how golden light changes throughout the year. Winter golden hours occur later in the morning and earlier in the evening, but the lower sun angle can provide extended periods of beautiful light. Summer offers longer shooting windows but may require earlier wake-up calls.
Study the work of master wildlife photographers who excel at golden hour photography. Analyze their use of light, composition, and timing. Notice how they position themselves relative to the sun and their subjects. Learn from their approaches while developing your own unique vision.

The Essence of Magic Light
Mastering golden hour wildlife photography is ultimately about more than technical proficiency with cameras and settings. It's about developing patience, dedication, and a deep connection with the natural world. It means waking in darkness, standing in the cold, and waiting with uncertainty for animals that may never appear.
But when everything aligns—when a magnificent creature emerges into that perfect golden light, when the composition comes together, when you capture that fleeting moment of wild beauty—the reward transcends the effort involved. Golden hour photography reminds us that the best things in life, including the best wildlife photos, require us to show up, be present, and remain ready for magic.
The wild animals you photograph don't perform on command. They don't wait for perfect light or convenient timing. Learning to work within the constraints of the golden hour while adapting to unpredictable wildlife behavior develops skills that will elevate all aspects of your photography.
Each golden hour brings new opportunities. The light is never quite the same twice. Wildlife behavior constantly varies. This endless variety means that even photographers who have spent decades chasing magic light can still experience fresh wonder and capture images they've never seen before.
Whether you're just beginning your journey in bird photography or you're an experienced shooter looking to refine your wild animal photography technique, dedicating yourself to mastering golden hour will transform your results. The warm, directional quality of magic light doesn't just make technically better images—it creates photographs with soul, emotion, and the ineffable quality that separates merely good wildlife photos from truly unforgettable ones.
Step outside during the next golden hour. Feel the cool morning air or the gentle evening breeze. Watch as the world transforms in that magical light. Your wild photography awaits.
